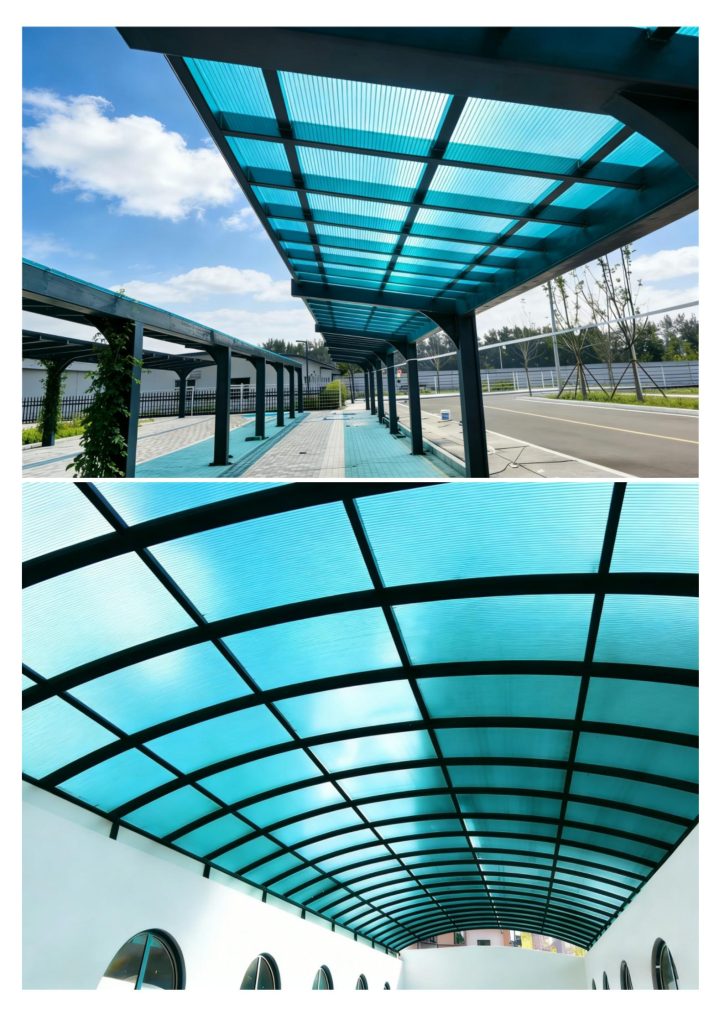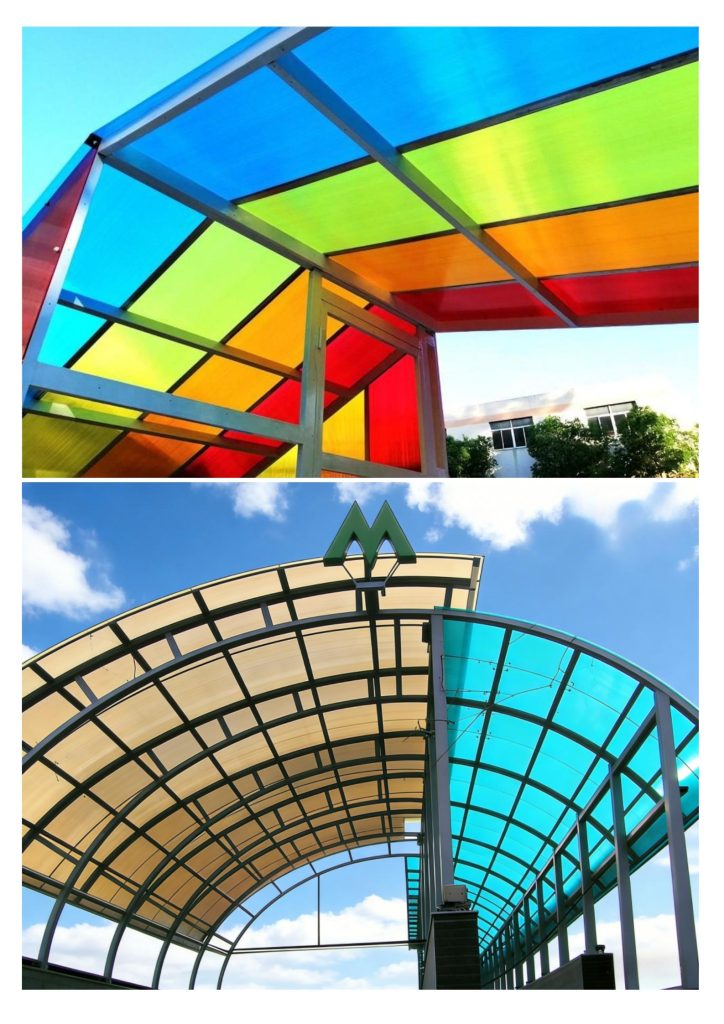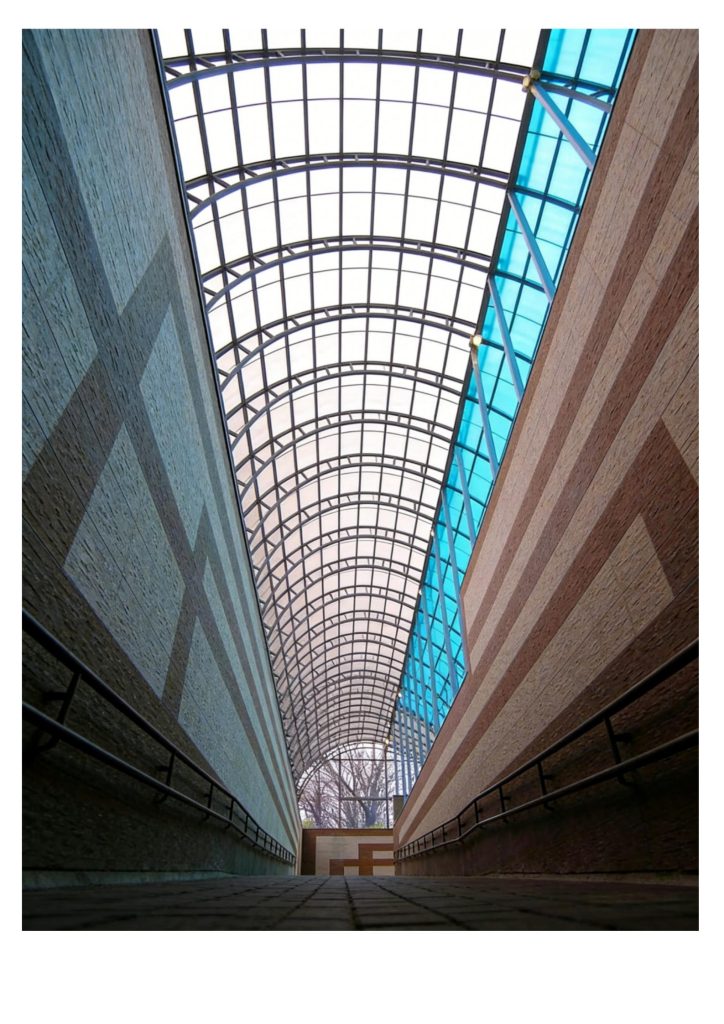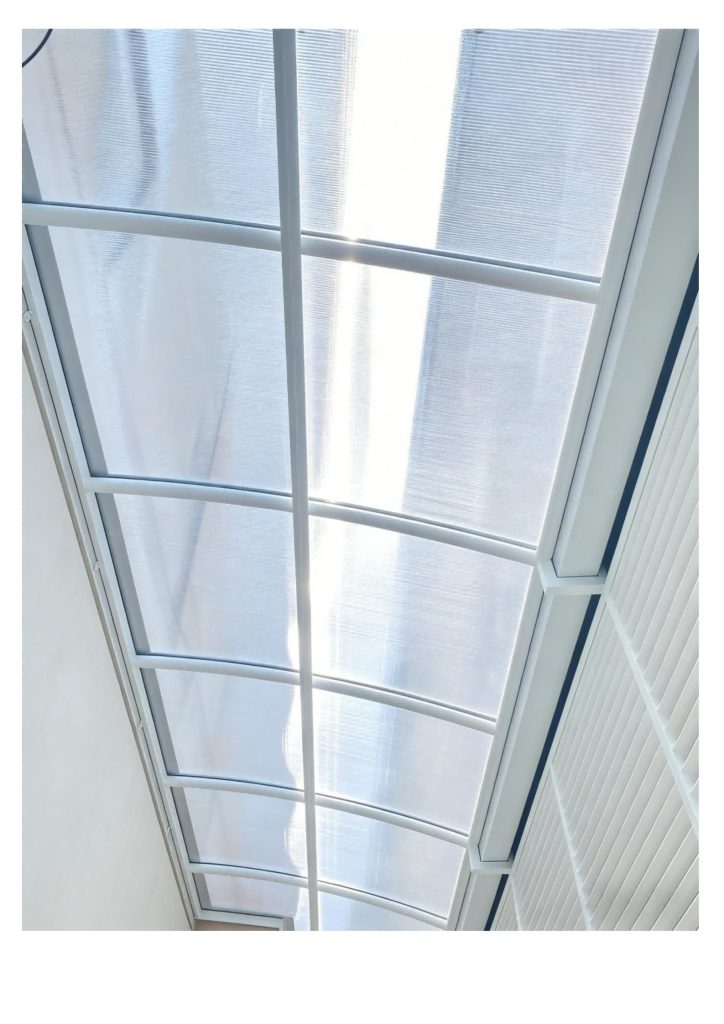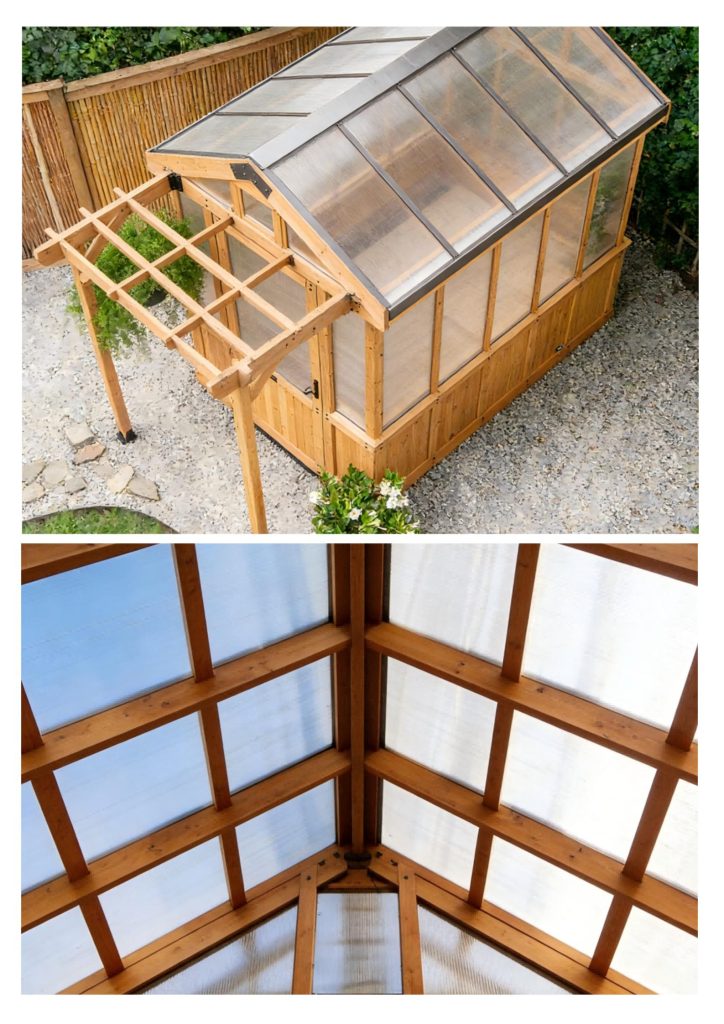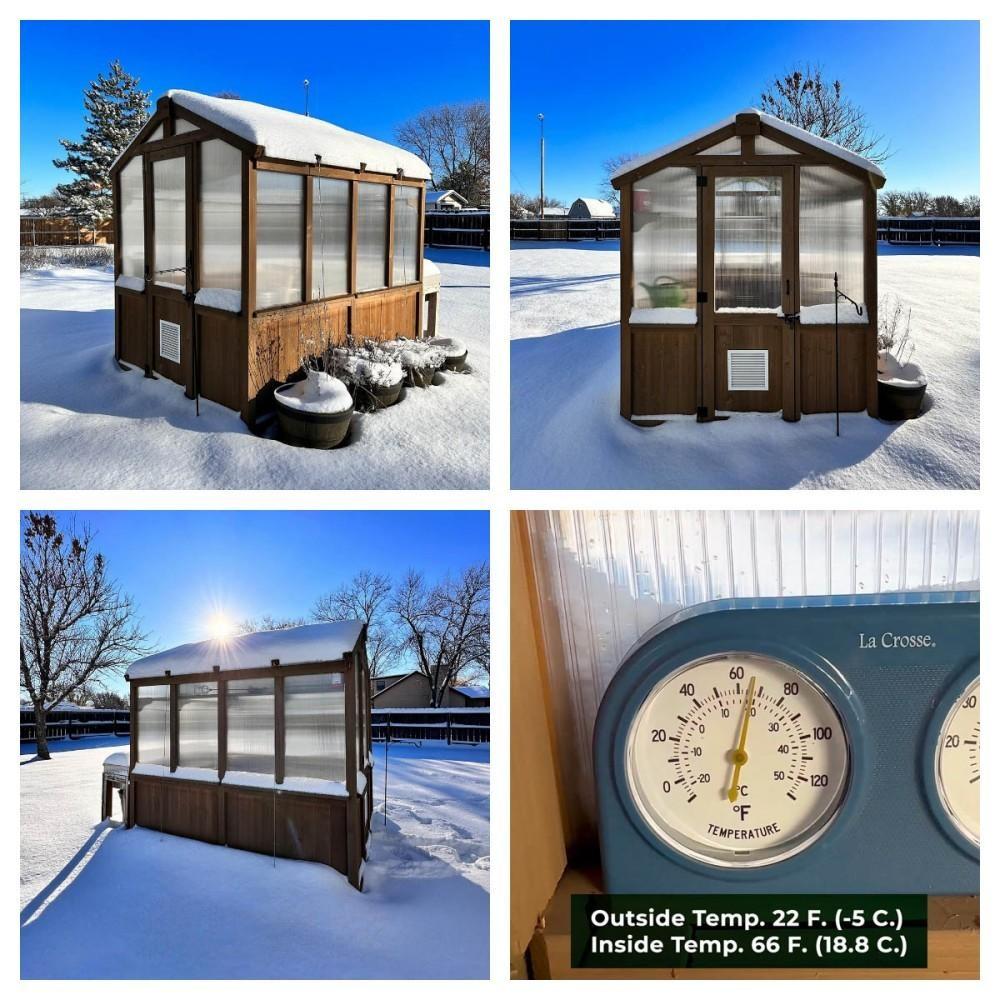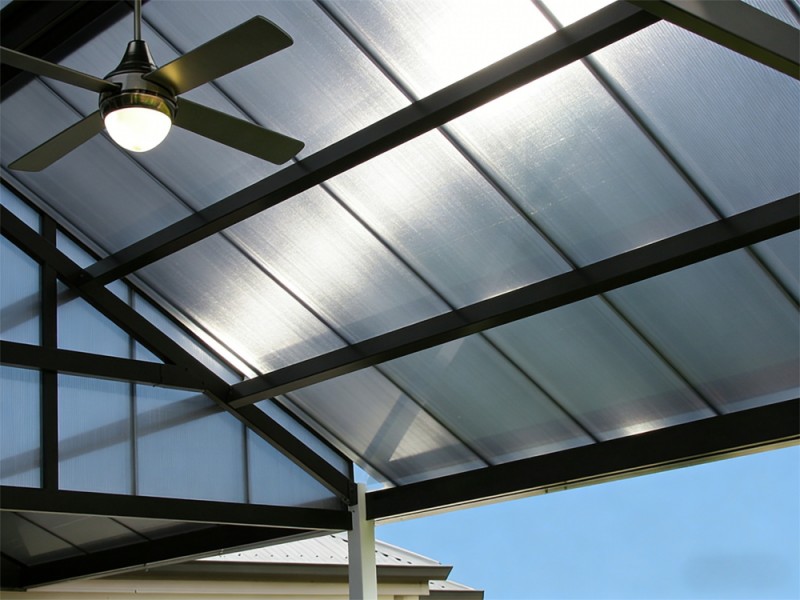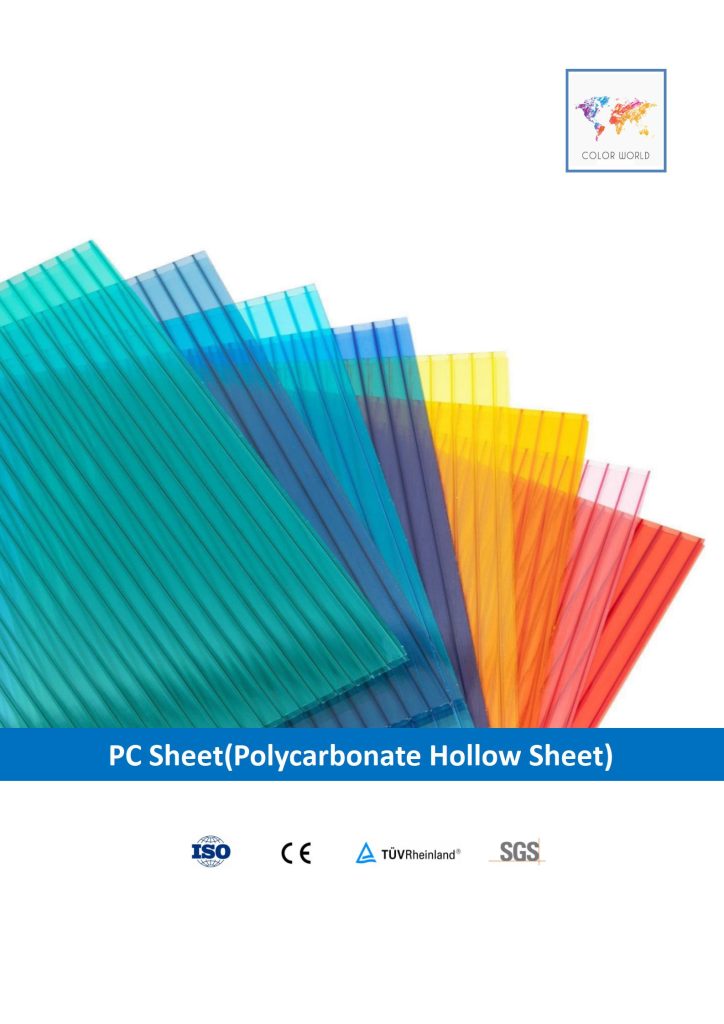
PC Hollow Sheet is a multi-functional panel manufactured from high-quality polycarbonate raw materials, featuring a full range of excellent properties and widely used in greenhouses, architectural daylighting, carports, awnings and other fields. Detailed introduction is as follows:
I. Product Features
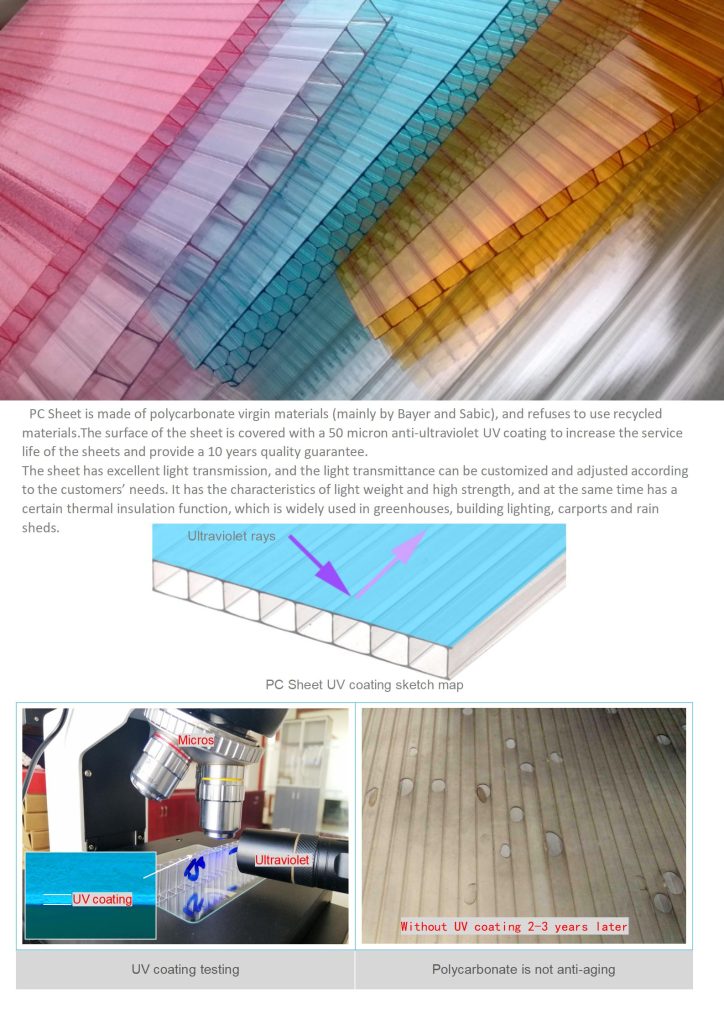
- Premium Raw Materials
It mainly adopts polycarbonate raw materials from Covestro and Sabic without recycled regrind materials to guarantee stable product quality. - UV Resistance
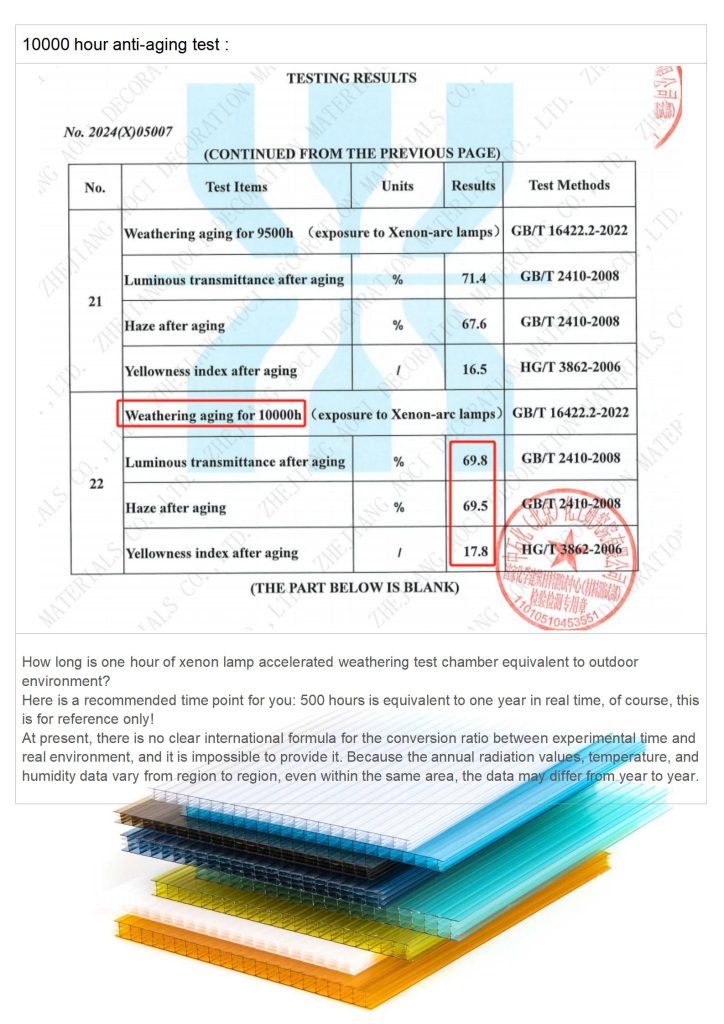
A high-concentration UV-resistant coating is co-extruded on the panel surface with uniform coverage, effectively extending service life and backed by a 10-year quality warranty. It passed a 10,000-hour anti-aging test with results exceeding industry standards.
| Test Item | Test Sample (6mm double-layer transparent PC Hollow Sheet, 10000h aging) | Industry Standard (2000h test) | Aozi Test Result |
|---|---|---|---|
| Light transmittance | 69.8% | – | – |
| Haze | 69.5% | – | – |
| Yellowness Index | 17.8 | ≤3 | 2.5 |
- Customizable Light Transmittance
It delivers outstanding light transmission performance. The light transmittance of colored PC Hollow Sheet can be customized per customer requirements, retaining roughly 70% light transmittance after 10,000-hour aging testing (based on specified test samples). - Light Weight & High Strength
It is lightweight yet mechanically robust, satisfying mechanical requirements of various building structures. - Thermal Insulation
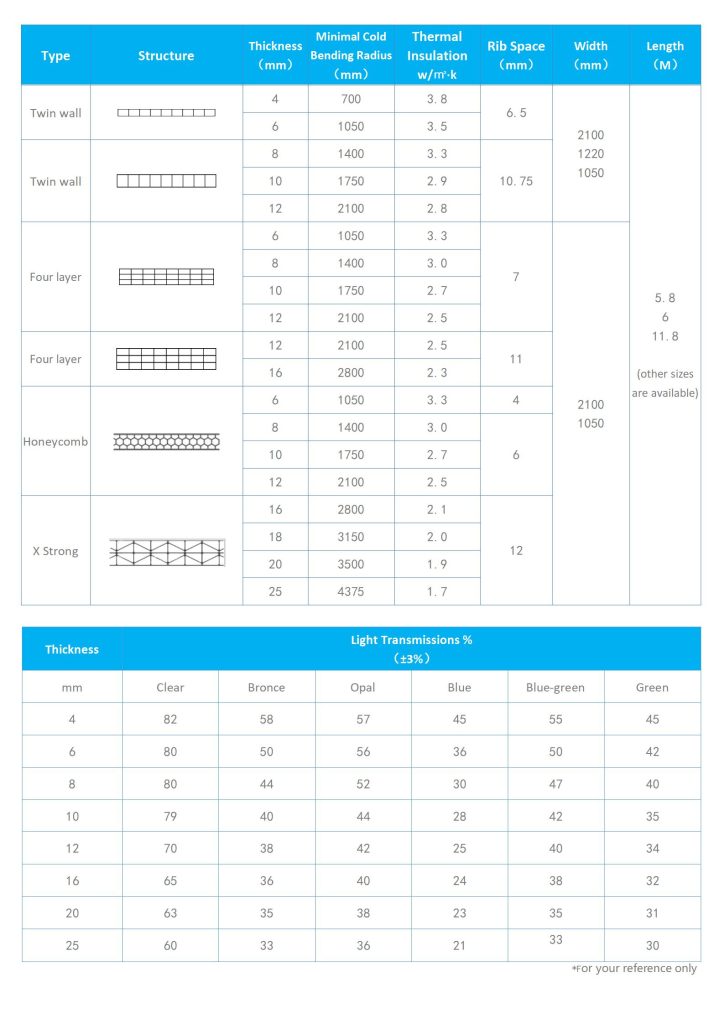
It provides effective heat preservation and insulation to improve building energy efficiency. Thermal conductivity (W/㎡·K) of different panels ranges from 1.7 to 3.8. - Bendable
It can be cold-bent following its natural material properties. Minimum bending radius varies by model and thickness; bending must follow the rib direction, improper bending will cause panel cracking.
| Panel Type & Thickness | Minimum Bending Radius | Thermal Conductivity (W/㎡·K) |
|---|---|---|
| Double-layer 4mm | 680mm / 700mm | 3.8 |
| Multi-layer 25mm cross-hatch | 5000mm | 1.7 |
| Four-layer 12mm | 2100mm | – |
II. Product Specifications
1. Models & Available Thickness
| Panel Structure | Optional Thickness |
|---|---|
| Double-layer | 4mm, 6mm, 8mm, 10mm, 12mm |
| Four-layer | 6mm, 8mm, 10mm, 12mm, 16mm |
| Honeycomb | 6mm, 8mm, 10mm, 12mm |
| Cross-hatch (M-shaped) | 16mm, 18mm, 20mm, 25mm |
2. Dimension Parameters
| Parameter | Optional Sizes | Remarks |
|---|---|---|
| Width | 2100mm, 1220mm, 1050mm | Applicable width varies by model & structure |
| Length | 5.8m, 6m, 11.8m | 11.8m for customized production |
3. Rib Spacing by Structure & Thickness
| Panel Structure | Thickness | Rib Spacing |
|---|---|---|
| Double-layer | 4mm | 6.5mm |
| Double-layer | 8–12mm | 10.75mm |
| Four-layer | 6mm | 7mm |
| Four-layer | 12mm | 11mm |
| Four-layer | 16mm | 12mm |
| Honeycomb | 6mm | 4mm |
| Honeycomb | 8–12mm | 6mm |
| Cross-hatch | 16–25mm | 12mm |
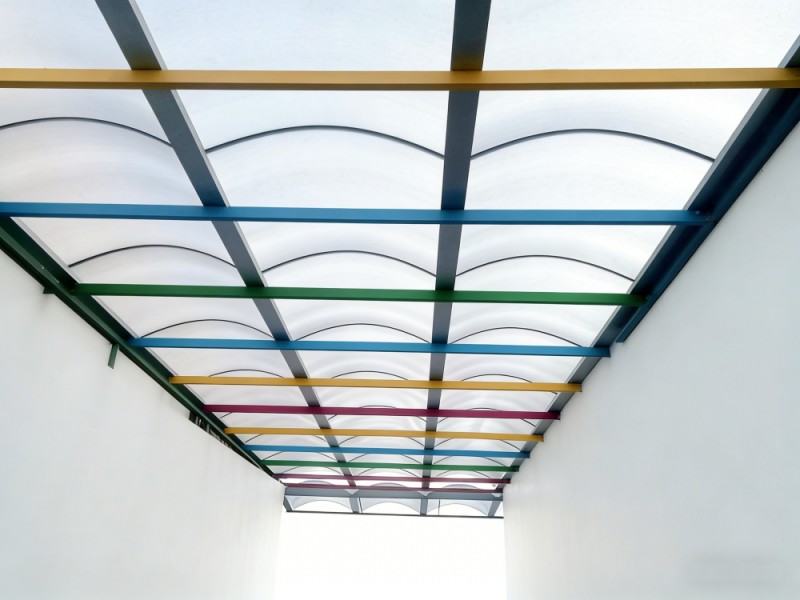
III. Color & Light Transmittance
- Available colors: clear, bronze, opal white, royal blue, lake blue, grass green and other customized shades.
- Transmittance data of common colors & thicknesses:
| Color | Thickness | Light Transmittance | Tolerance |
|---|---|---|---|
| Clear | 4mm | 82% | ±3% |
| Bronze | 6mm | 50% | ±3% |
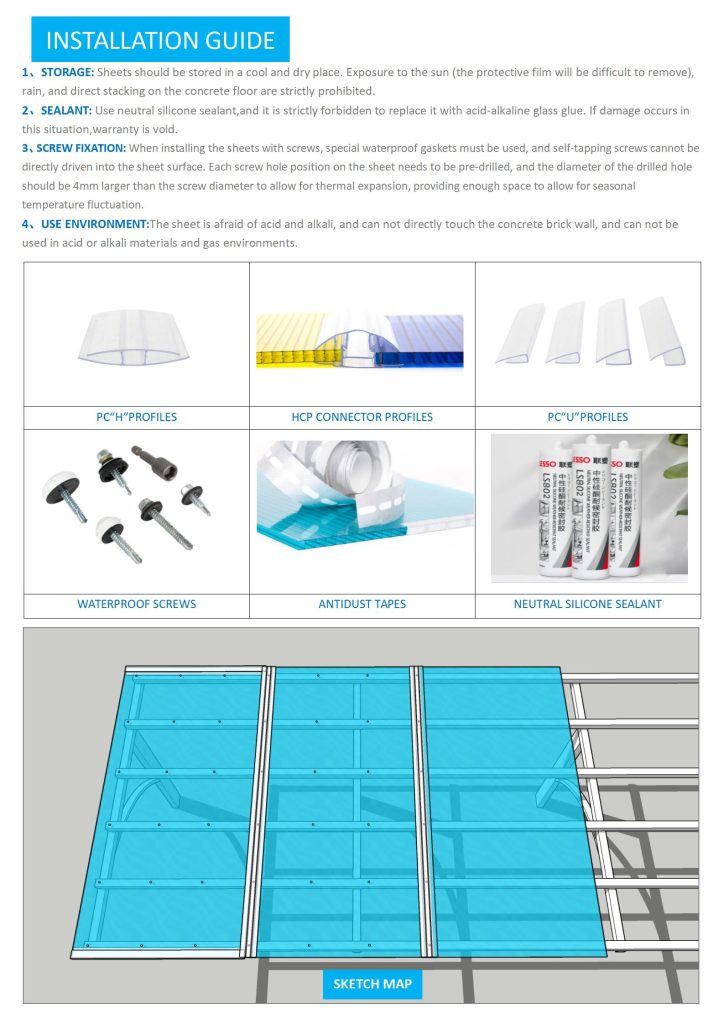
IV. Installation Guidelines
Storage Requirements
- Store in cool, dry areas away from direct sunlight and rain.
- Never stack panels directly on concrete floors; use pallets underneath.
- Avoid contact with acids, alkalis, paints and other chemicals (also observed during installation).
Cutting Method
Use a high-speed fine-tooth circular saw or portable electric saw with slow feed speed. Support panels nearby during cutting and clear away dust and debris.
Drilling Method
Drill holes 4mm wider than screw diameter, hold drill bits perpendicular to the panel surface and clear dust after drilling.
Bending Operation
Only bend parallel to the panel rib lines. Never bend below the specified minimum radius, otherwise the panel will crack.
Pre-installation Preparation
- Peel partial adhesive tape and protective film from both panel ends; apply aluminum foil tape on the top-facing side and breathable tape on the bottom-facing side. Aluminum foil tape may be used on both ends if breathable tape is unavailable.
- Install end trim strips on both ends of panels. Drill drainage holes on the side of bottom trim strips for water runoff.
- Remove bottom protective film before installation and peel off top protective film immediately after installation, otherwise warranty coverage will be voided.
Pavement Notes
- The UV-coated side (printed side) must face outward toward sunlight; peel off protective film after mounting.
- Awnings require a slope greater than 10° for efficient drainage.
- Do not step directly on panels. Lay wood planks or tracked boards to distribute weight when purlin spans are wide for safety.
- Avoid installation under adverse weather conditions.
Joint Treatment
- H-profile Installation Expansion Gap Standard
| PC Hollow Sheet Thickness | Reserved Expansion Gap |
|---|---|
| 4–6mm | 15mm |
| 8–10mm | 20mm |
Installation Steps:
Apply tape to both ends of PC Hollow Sheet, peel bottom film, fasten the first sheet with waterproof screws. Reserve expansion gaps as above before inserting the H-profile. Mount PC end trims and remove top protective film.
- Upper & Lower Snap Profile Installation Steps
Peel bottom protective film from PC Hollow Sheet, tape both ends, install PC end trims and snap profile bases. Lay panels flat, fix with dedicated waterproof screws, fit upper snap caps and tap tightly with a rubber mallet before removing top film. - Tighten screws densely around awning perimeters for improved wind resistance, yet avoid over-tightening which damages panel surfaces. Pre-drill holes 4mm wider than screw diameter at fastener positions.
- Use weather-resistant neutral silicone sealant only; acidic or alkaline glass sealants are prohibited.
Cleaning Method
Natural rainwater usually delivers self-cleaning effects. Diluted household non-corrosive, solvent-free detergent may be used when necessary. Never wipe dry panels; use low-pressure water spray for large-area cleaning.
Ridge & Corner Treatment
Custom bent flashing pieces (stainless steel ≥0.5mm thick, 10cm width per side) are required for various installation configurations.