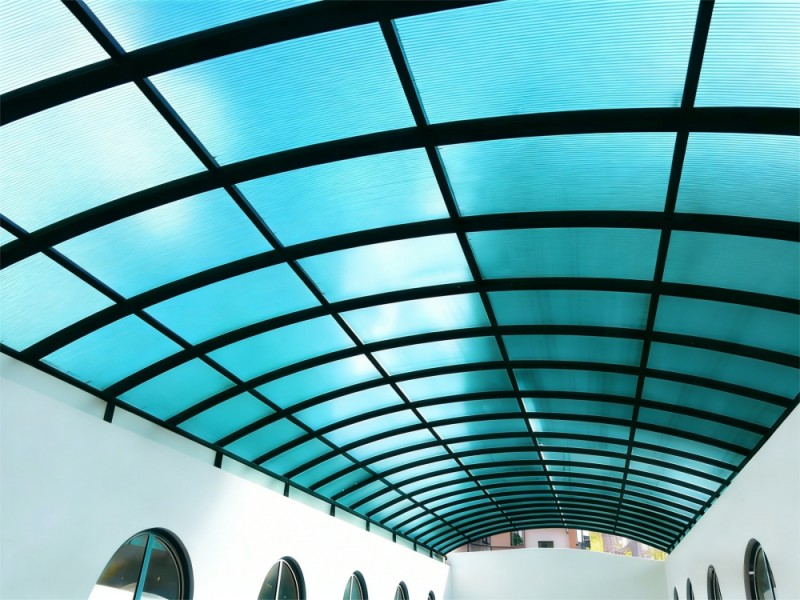
Design and Installation of PC Hollow Sheet Canopies for Underground Parking Entrances and Exits
As the critical passage connecting ground level and underground spaces, underground parking entrances and exits must satisfy four core functional requirements: rain and snow shielding, wind load resistance, energy-saving daylight transmission, and safe vehicle passage. Lightweight, high-impact and light-transmitting PC Hollow Sheets (double-layer or four-layer hollow polycarbonate panels) serve as the ideal cladding material for this scenario. This guide elaborates on design essentials, installation procedures and protective measures in detail below.
I. Core Design Principles for Underground Parking Canopy Application
1.1 Structural Form Selection: Balance Function and Safety
Two mainstream structural styles are available for PC Hollow Sheet covers, selected according to the ramp gradient (typically 15°–20°), lane width (3.5–4m for single lanes, 6–7m for dual lanes) and local climate conditions:
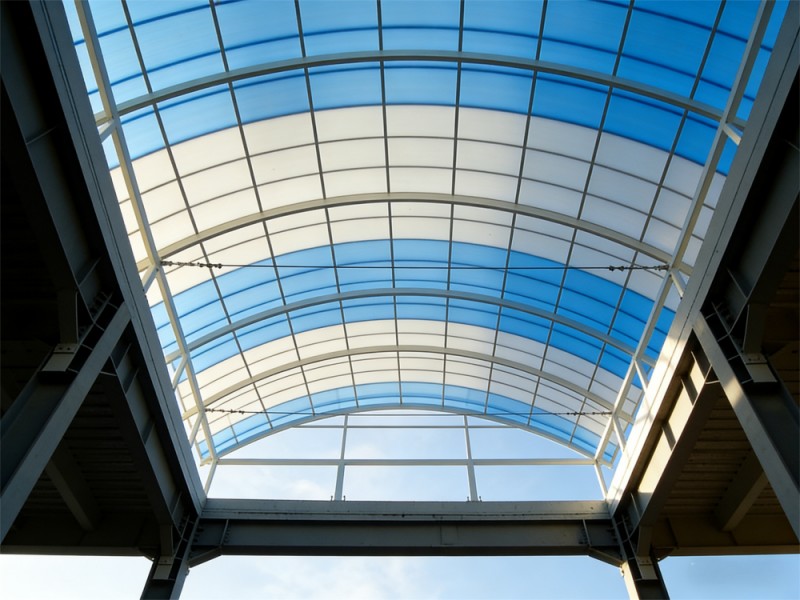
- Arch Structure
Ideal for regions with strong winds and heavy snowfall (e.g., Northern China). The curved profile disperses wind pressure (resistant to over Grade 10 wind loads) and accelerates snow sliding to prevent structural collapse from accumulated snow. It maintains a minimum internal clearance of 2.2m to accommodate light trucks, and is recommended for dual-lane driveways with a maximum span of 6m. - Sloped Structure
Aligns with the natural 15°–20° gradient of parking ramps, featuring simple construction for wind and snow-light regions (e.g., Southern China) or single-lane openings under 4m wide. A 3‰–5‰ transverse drainage slope (perpendicular to vehicle travel direction) must be integrated to eliminate standing rainwater.
1.2 PC Hollow Sheet Specification Selection: Prioritize Durability and Safety
Panels above parking access endure exhaust corrosion, pedestrian collision and extreme weather impacts. Standard selection criteria are as follows:
| Selection Factor | Recommended Standard | Rationale |
|---|---|---|
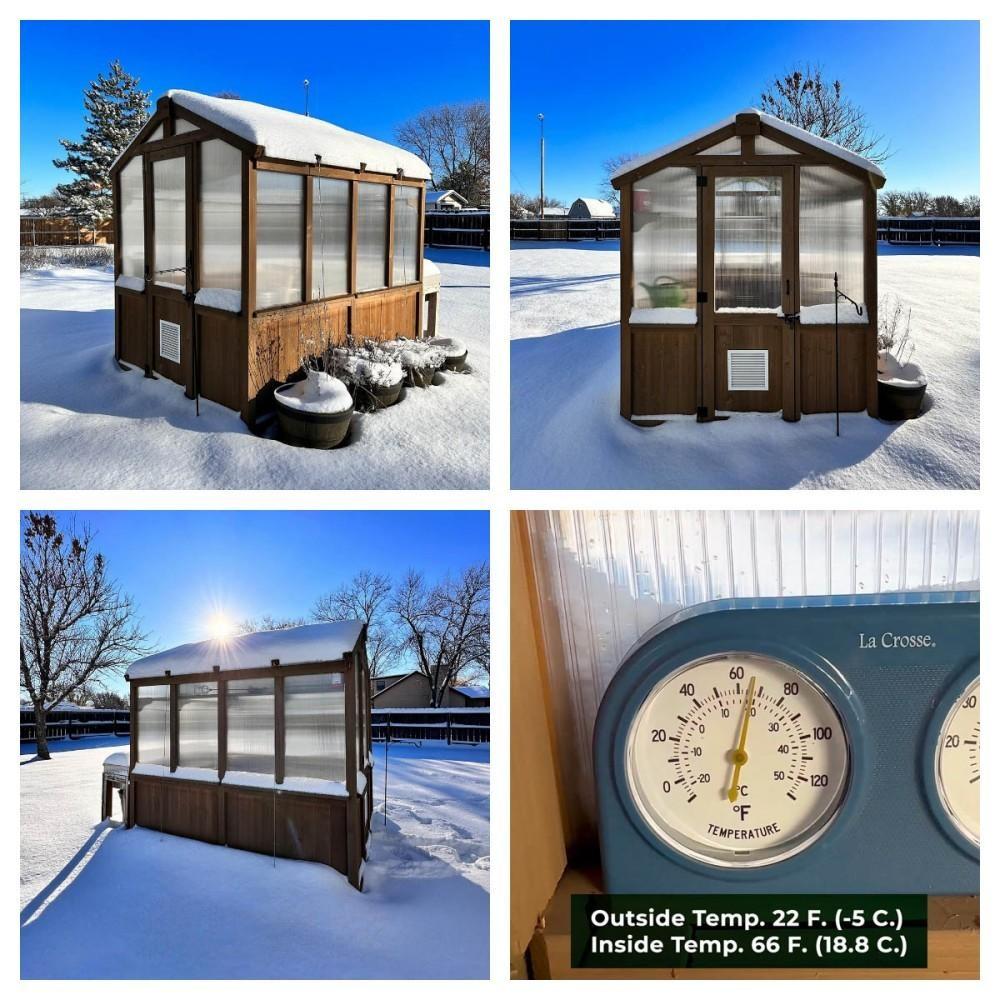
| Panel Type | 8–10mm double-layer PC Hollow Sheet / 10–12mm four-layer PC Hollow Sheet | Hollow cavities deliver thermal insulation to reduce condensation caused by temperature differences between underground and outdoor spaces, while boosting impact resistance by 50% compared with solid single-layer sheets to withstand hail and accidental impacts |
| UV Coating | Double-sided UV coating (≥50μm thickness) | Long-term outdoor exposure demands dual-sided UV protection: top coating blocks sunlight degradation, bottom coating resists vehicle exhaust corrosion, extending service life to over 15 years |
| Impact Resistance | ≥200kJ/m² | Withstands accidental pedestrian knocks and falling debris such as tree branches to avoid breakage and traffic hazards |
| Fire Rating | UL94 V-2 or higher | Parking lots are high-foot-traffic zones; this fire rating prevents rapid flame spread in fire emergencies |
1.3 Support Frame Design: Ensure Structural Stability
PC Hollow Sheets rely on metal framing for fixation, which must withstand long-term vibration from vehicle traffic and permanent environmental loads:
- Frame Material: Hot-dip galvanized steel pipe is the primary choice (60×40×2mm main purlins, 40×30×1.5mm secondary purlins). Superior weather resistance combats exhaust corrosion, extending service life 8–10 years longer than ordinary carbon steel. 304 stainless steel framing is specified for coastal sites to resist salt spray erosion.
- Spacing Control: Main purlin spacing ≤1.5m (expandable to 2m for dual lanes with triple-layer PC Hollow Sheets); secondary purlin spacing ≤1m. Framing must be engineered to local snow load standards (≥50kg/㎡ for Northern China, ≥30kg/㎡ for Southern China) to eliminate sheet deflection under wind and snow pressure.
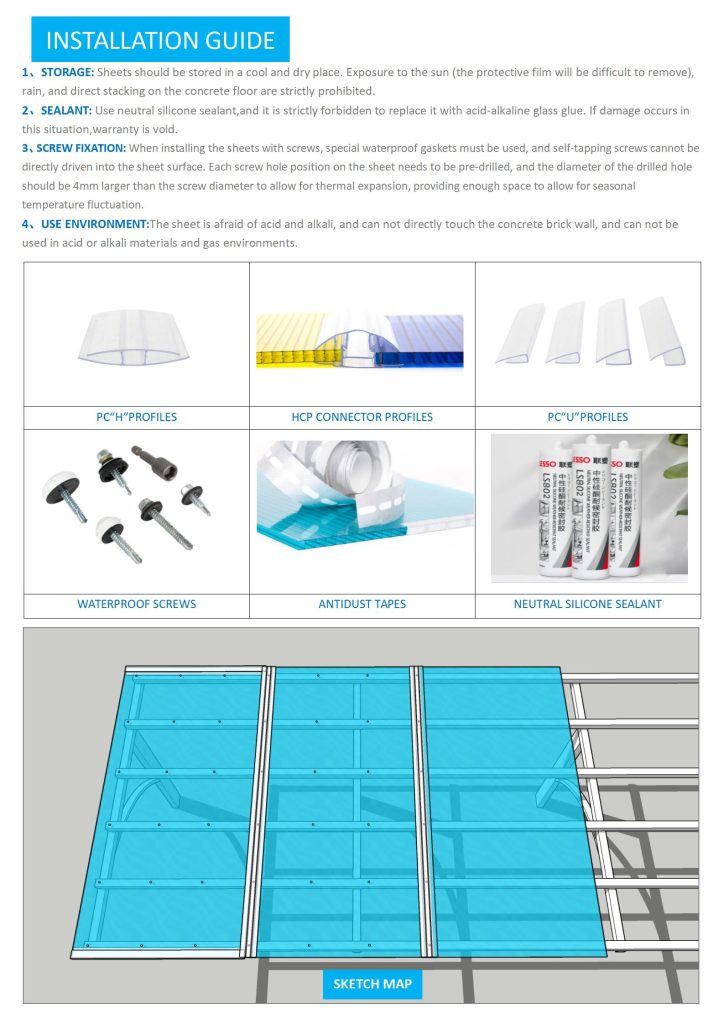
- Connection Details: Aluminum pressure bars (minimum width 30mm) secure panels—direct self-tapping screw penetration through sheets is prohibited to avoid water leakage. EPDM weatherproof rubber gaskets sandwiched between pressure bars and panels deliver long-lasting sealing performance.
II. Step-by-Step Installation Procedures for Guaranteed Construction Quality
2.1 Pre-Construction Preparation to Eliminate Hidden Defects
- Site Survey: Measure the actual width, gradient and vertical clearance of the driveway, mark frame installation positions to avoid conflicts with fire pipelines and ventilation ducts inside the parking garage. All finished dimensions must comply with JGJ100-2015 Code for Garage Building Design to guarantee unobstructed vehicle clearance width and height.
- Panel Pre-Conditioning: Unpack PC Hollow Sheets on-site and rest for a minimum of 24 hours to match ambient temperature; this mitigates thermal expansion and contraction deformation post-installation. Cut panels with specialized panel saws (≥10 teeth per inch) to prevent rough, leak-prone cut edges.
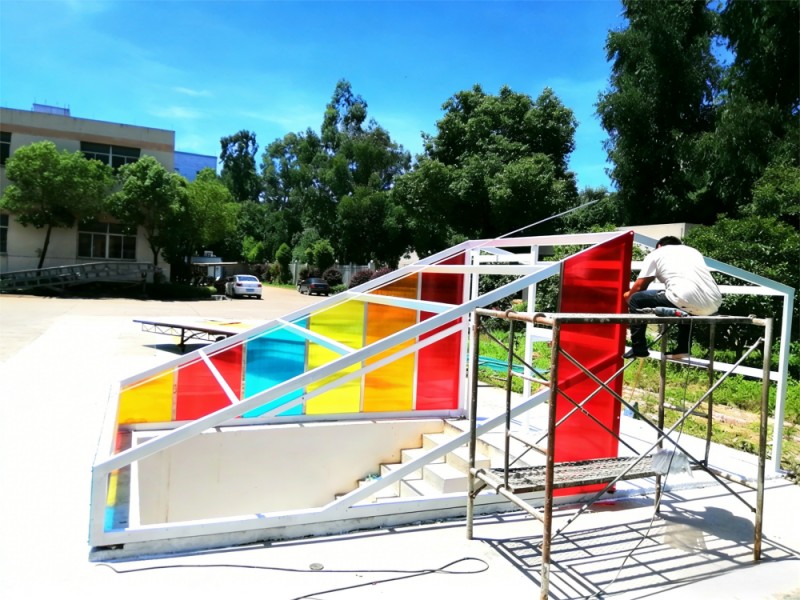
- Tool Preparation: Equip drill bits engineered to preserve galvanized coatings, weatherproof silicone sealant guns, spirit levels, safety harnesses for elevated work, and scaffolding for installation heights exceeding 3m.
2.2 Frame Erection: Lay a Stable Foundation
- Install embedded fasteners: Drill holes into side walls or concrete ground bases, secure M10 expansion bolts at intervals ≤1.5m to mount main purlin connectors. Calibrate with a spirit level to ensure horizontal main purlins aligned with the driveway ramp gradient.
- Mount main purlins: Attach hot-dip galvanized steel main purlins to connectors via welding or bolt fasteners. Apply two coats of anti-rust paint to all welded joints to prevent rusting. Use tension lines to inspect flatness, limiting surface deviation to ≤3mm per 2m section.
- Install secondary purlins: Fasten secondary purlins perpendicular to main purlins using bolts (welding is forbidden to avoid frame warping). Match purlin gradient to the driveway slope for unimpeded rain drainage.
2.3 PC Hollow Sheet Laying: Critical Detail Control
- Panel layout: Cut sheets to match driveway width and minimize joint seams; align seams away from direct overhead vehicle traffic to prevent seal failure from constant vibration. Reserve 5–8mm expansion gaps between adjacent panels to accommodate temperature-driven dimensional changes.
- Fixation method: Rest PC Hollow Sheets atop secondary purlins, cover joints with aluminum pressure bars, and fasten bars with self-tapping screws fitted with waterproof washers at a maximum 300mm screw spacing. Compress EPDM gaskets by no less than 30% to maintain watertightness. Never drill screws directly through PC Hollow Sheet panels, as stress concentration will trigger cracking.
- Sealing treatment: Fill panel joints with PC-compatible weatherproof silicone sealant (select formulas free of plasticizers that degrade polycarbonate). Maintain sealant bead width ≥15mm and thickness ≥5mm, smoothing the surface to remove air bubbles. Seal all gaps between sheet edges and surrounding masonry to block rainwater infiltration into the underground parking lot.
2.4 Acceptance Testing to Verify Operational Safety
- Visual inspection: Confirm scratch-free, undeformed PC Hollow Sheet surfaces, uniform joint alignment, and complete bubble-free sealant coverage.
- Water penetration test: Simulate heavy rainfall by spraying water continuously for 30 minutes; inspect the underside of the canopy for any seepage into the parking structure.
- Load-bearing test: Distribute sandbags across panels at 1.2 times the designed snow load, leave undisturbed for 24 hours. Acceptance criteria: sheet deflection ≤ L/250 (L = purlin span length), no loose frame connections.
III. Post-Installation Protection and Maintenance to Extend Service Life
3.1 Routine Preventative Care to Avoid Man-Made Damage
- Warning signage: Mount notices at driveway entrances prohibiting climbing and overhead object throwing to prevent panel impact damage.
- Quarterly cleaning: Wipe sheet surfaces with neutral detergent solutions (e.g., diluted dish soap). Acidic or alkaline cleaners are forbidden, as they corrode the UV coating. Regular cleaning removes exhaust grease and dust that block light and accelerate surface aging.
- Winter snow management: Clear snow accumulation with soft-bristle brooms to avoid surface scratching; limit snow depth to under 10cm to avoid exceeding engineered load limits.
3.2 Scheduled Maintenance to Address Defects Early
- Sealant inspection (every 2 years): Check joint and perimeter sealant for aging or cracking. Strip degraded sealant and reapply matching PC-compatible weatherproof silicone sealant as needed.
- UV coating inspection (every 5 years): Examine panels for yellowing or coating peeling. Touch up exposed substrate with specialized UV repair compound to prevent UV radiation from embrittling the polycarbonate core.
- Frame maintenance (annual): Tighten loose frame bolts, sand rusted galvanized steel sections and recoat with anti-rust paint.
3.3 Troubleshooting Common Failures
- Partial panel cracking (≤50mm): Temporarily seal fissures with weatherproof sealant to stop leakage, then adhere dedicated PC repair patches. Replace full panels for damage exceeding 100mm; match replacement dimensions precisely and re-seal all joints thoroughly.
- Water seepage: Locate leakage points (typically aged joint sealant or loose pressure bars). Remove deteriorated sealant and re-apply, or retighten pressure bars to fully compress EPDM gaskets.
IV. Key Design & Installation Notes to Avoid Industry Pitfalls
- Reject recycled raw material PC Hollow Sheets: Panels above parking access must withstand long-term loads and corrosive exhaust. Recycled sheets deliver poor impact resistance and rapid aging, with a service life of only 3–5 years. Specify panels manufactured from 100% virgin polycarbonate resin.
- Do not overexpand purlin spacing: Many contractors widen purlin intervals over 2m to cut material costs, which causes permanent sheet deflection and cracking under wind and snow pressure. Adhere strictly to engineered spacing standards.
- Use only PC-compatible sealant: Generic construction silicone contains plasticizers that chemically degrade polycarbonate. Recommended products include Dow Corning 791 and Wacker GM-193, labeled explicitly compatible with PC substrates.
- Standardize elevated work safety protocols: Erect stable scaffolding and mandate safety harnesses for installers to prevent falls or accidental panel damage during construction.
Supplementary Guidelines for Specifying and Installing PC Hollow Sheet Parking Canopies
1. PC Hollow Sheet Specification Selection
- Custom dimensions: Tailor sheet length and width to driveway measurements. Wider single panels reduce joint seams, improving both waterproof performance and visual uniformity for large-span driveways.
- Thickness selection: Sheet thickness directly governs load capacity and weather resistance. Match thickness to canopy span, weight-bearing requirements and local climate; arched canopy designs require thicker panels for enhanced structural rigidity.
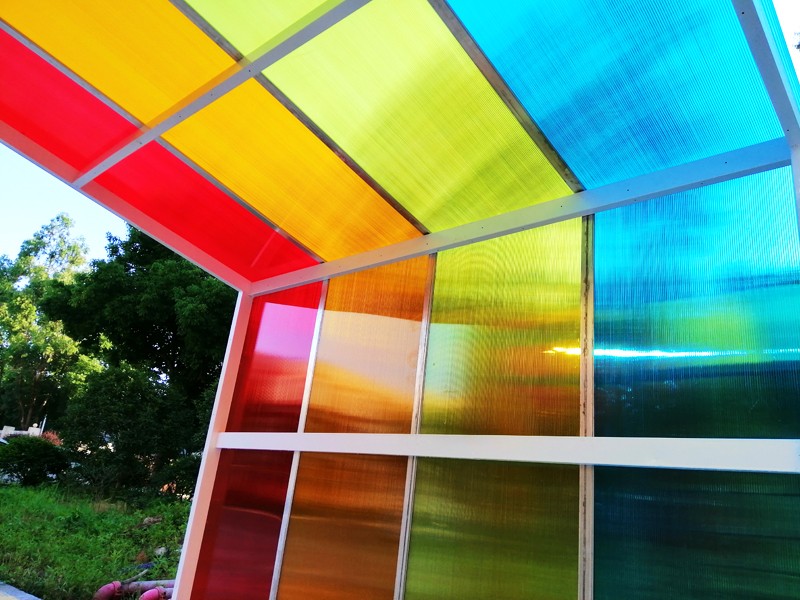
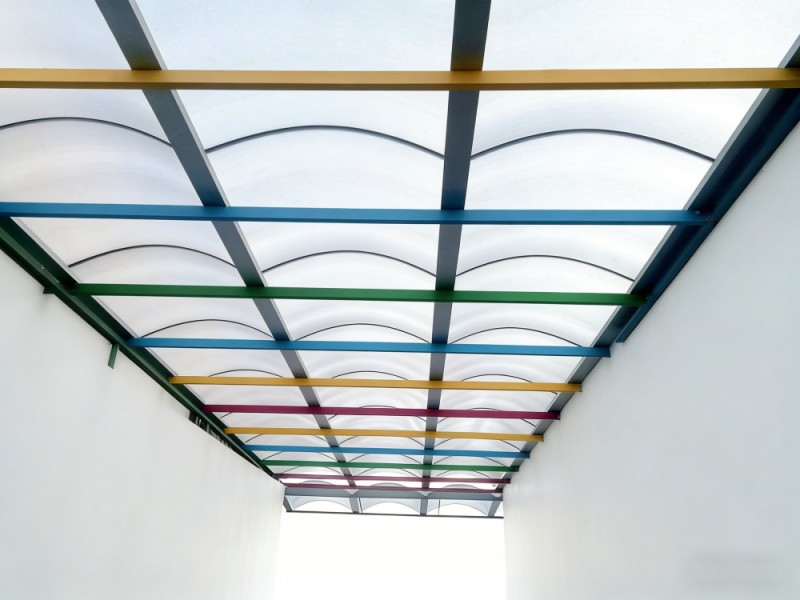
- Color and light transmission: Transparent and sky-blue are the most common options. High-transmission sheets maximize natural daylight, paired with supplementary thermal insulation measures to mitigate solar heat gain.
2. Structural Design
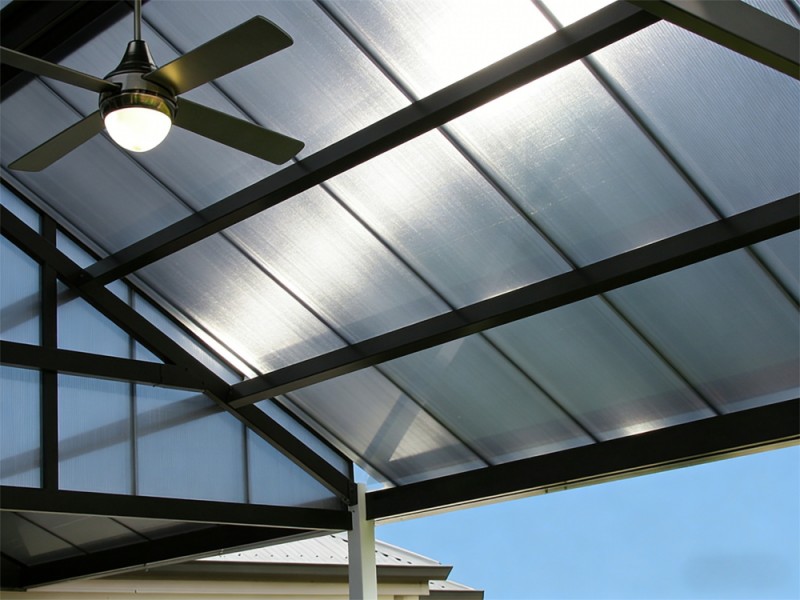
- Canopy shape options: Arch or sloped profiles are standard for underground parking access. Arch canopies offer superior load resistance and aesthetic appeal yet require complex installation; sloped canopies feature simpler construction. Finalize form based on on-site build constraints and load requirements.
- Frame material options: Stainless steel, hot-dip galvanized steel, I-beams and rectangular tubing are viable framing materials. Select cross-sectional sizes to guarantee structural stability under dead and live loads.
- Waterproofing and drainage design: Verify verticality, elevation and horizontal alignment of primary structural steel supports during design. Integrate a complete drainage system to eliminate standing rainwater and underground infiltration.
3. Standard Installation Steps
- Pre-installation inspection of steel framing: Verify verticality, elevation and horizontal alignment of main supports, and double-check pre-drilled mounting hole positions.
- Steel surface preparation: Wire-brush U-shaped steel channels and trough bases to remove surface contaminants; fit rubber support pads under sheets at one-quarter panel width from edges.
- PC Hollow Sheet cleaning and labor allocation: Fully clean panels before installation, and assign construction crews according to sheet weight and dimensions.
- Mounting position verification: Confirm alignment of all installation anchor points prior to lifting panels into place.
- On-site panel assembly: Pre-fit aluminum pressure bars to PC Hollow Sheets on ground platforms before lifting the complete assembly onto framing. Apply weatherproof silicone sealant along all pressure bar joints to ensure airtight and watertight performance.
- Position calibration post-installation: Adjust sheet horizontal and vertical positioning to stay within allowable flatness tolerances.
- Full surface flatness inspection: Conduct a comprehensive visual check of all installed panels after final positioning adjustments.
4. Critical Installation Precautions
- Construction safety: Enforce full PPE compliance including hard hats and safety harnesses. Follow all elevated work safety regulations to protect installation crews.
- Surface panel protection: Prevent hard object scratches during construction. Oversize pre-drilled mounting holes relative to screw diameter to accommodate thermal expansion and avoid sheet cracking.
- Post-installation quality acceptance: Complete full inspection covering panel flatness, joint sealing integrity and structural stability to confirm compliance with all design and performance requirements.